

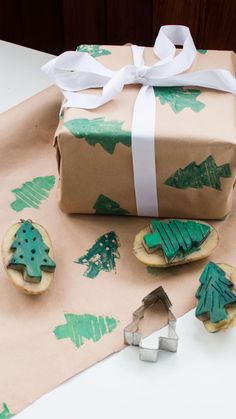
Creating your own wrapping paper is a fun, creative, and eco-friendly way to add a personal touch to your gifts. This DIY project allows you to customize your wrapping to suit any occasion and recipient. Here’s a guide to help you make your own unique wrapping paper.
Materials Needed:
- Large sheets of plain paper (butcher paper, kraft paper, or recycled paper)
- Paint (acrylic, watercolor, or tempera)
- Brushes or sponges
- Stamps or stencils (optional)
- Markers, crayons, or colored pencils
- Glitter or sequins (optional)
- Scissors
- Ruler
- Adhesive (glue or tape)
Steps to Create Your Wrapping Paper:
- Choose Your Base Paper
Select a large sheet of plain paper. Kraft paper or butcher paper work well and are easily available. Recycled paper, like brown paper bags, can also be a great eco-friendly option. - Plan Your Design
Decide on a theme or pattern for your wrapping paper. This could be based on the occasion, the recipient’s interests, or seasonal motifs. Sketch out your ideas lightly in pencil if needed. - Apply Base Colors (if desired)
If you want a colored background, paint the entire sheet with a base color and allow it to dry completely before adding designs.